
Installing Freedos 1.4 on Ubuntu 24.04
About a week ago, I came across this Hackaday post about a UEFI-wrapper project that re-enables legacy BIOS on UEFI-only systems. Coincidentally, FreeDOS v1.4 was just released, so I decided to repurpose an old laptop as a pure FreeDOS machine. Because DOS requires a BIOS runtime (no native UEFI support), most modern machines can’t run it natively.
I tried CSMwrap on my janky laptop, but things didn’t quite work. Since I mainly wanted to try FreeDOS rather than dive into a UEFI rabbit hole, I opted to run FreeDOS inside QEMU on Ubuntu 24.04 LTS. Below are the exact steps—including FAT16 partitioning, QEMU command-line options, and networking tweaks… Mainly, so I won’t forget what I did.
Why FAT16?
Classic DOS uses FAT16 (max partition ~2 GB), so we’ll create a 1.5 GB disk to stay well within limits.
All commands assume you’re in $HOME on Ubuntu 24.04 with sudo rights.
1. Download the FreeDOS ISOs
Grab both the Live CD and the Bonus CD:
wget https://www.ibiblio.org/pub/micro/pc-stuff/freedos/files/distributions/1.4/FD14-LiveCD.zip
wget https://www.ibiblio.org/pub/micro/pc-stuff/freedos/files/distributions/1.4/FD14-BonusCD.zip
Unzip them:
unzip FD14-LiveCD.zip
unzip FD14-BonusCD.zip
You should now have:
FD14LIVE.iso(Live-CD installer)FD14BONUS.iso(extra utilities)
2. Install and Verify QEMU
sudo apt update
sudo apt install -y qemu-system-x86 qemu-utils
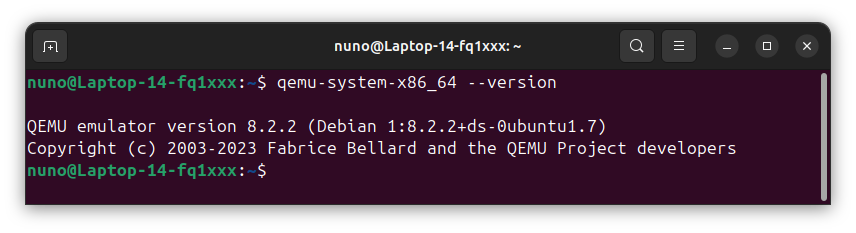
Confirm the version (e.g. 8.2.2):
qemu-system-x86_64 --version
3. Create a FAT16 Disk Image
qemu-img create -f raw ~/freedos16.img 1536M
-f raw: raw disk image1536M: 1.5 GB (well under FAT16’s 2 GB limit)
4. Boot the Live-CD and Partition
qemu-system-x86_64 \
  -enable-kvm \
  -m 512 \
  -drive file=~/freedos16.img,if=ide,format=raw,media=disk \
  -cdrom ~/FD14LIVE.iso \
  -boot order=d,once=d \
  -vga std
Where:
-enable-kvm: uses hardware acceleration-m 512: virtual machine (VM) gets 512 MB RAMif=ide: DOS-friendly IDE bus-boot order=d,once=d: boot from CD this time only-vga std: standard VGA card emulation
When the VM starts, choose Live environment and at the DOS prompt run:
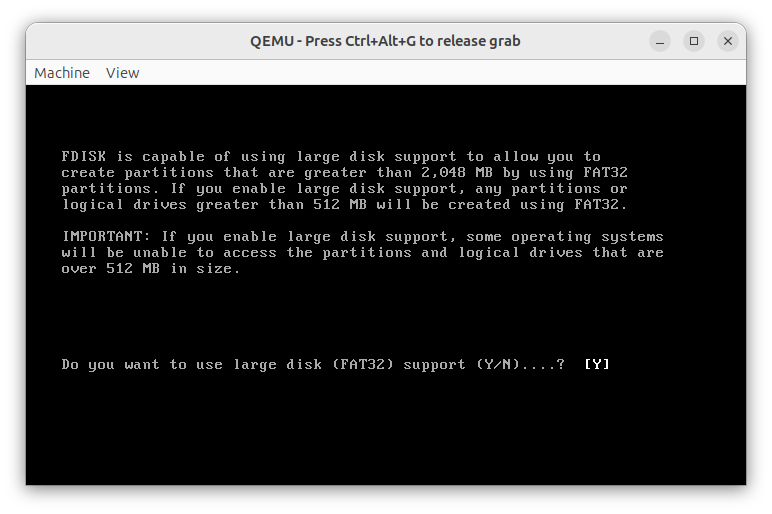
fdisk
- Press 1 – Create DOS partition
- Press 1 – Primary DOS
- Accept default size (full 1.5 GB)
- Press Y – Write partition table
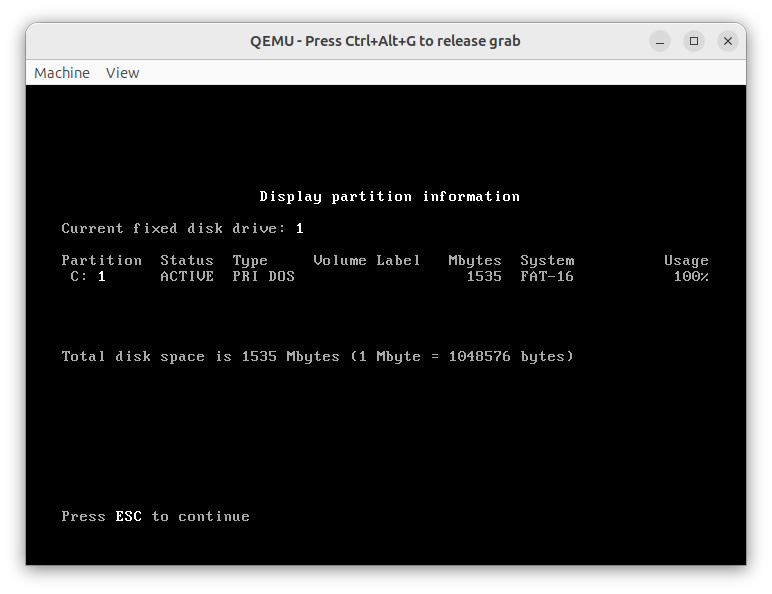
- Press 4 – (Optional) List partitions
Reboot:
reboot
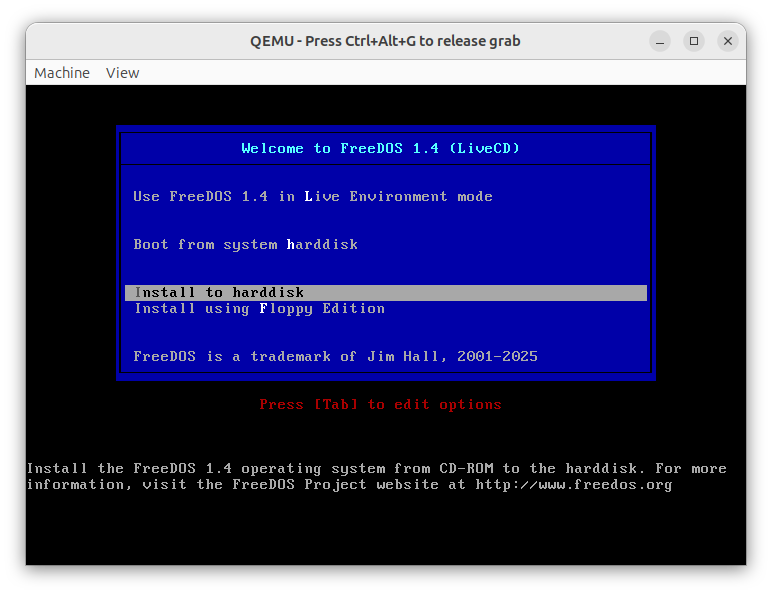
5. Install to Hard Disk
When it boots back into the Live-CD, choose Install to hard disk and walk through the FreeDOS installer (language, keyboard, target drive C:). Accept defaults or adjust as needed.

Once done, exit QEMU (Ctrl + Alt + Q) and proceed.
6. Create a Startup Script
Make a start_freedos.sh launcher so you don’t have to type the long QEMU command every time. I like nano as a simple to use text editor:
nano start_freedos.sh
Copy the following contents to the start_freedos.sh file:
#!/bin/bash
# ------------------------------------------------
# start_freedos.sh: launch FreeDOS VM in QEMU
# Usage: ./start_freedos.sh [-cdrom /path/to/iso]
# ------------------------------------------------

# Default CD-ROM ISO
CDROM="$HOME/FD14LIVE.iso"

# Parse -cdrom option
while [[ $# -gt 0 ]]; do
  case "$1" in
    -cdrom) CDROM="$2"; shift 2 ;;
    *)      break ;;
  esac
done

# Build QEMU command
QEMU_CMD=( qemu-system-x86_64
  -enable-kvm
  -m 512
  -drive file="$HOME/freedos16.img",if=ide,format=raw,media=disk
  -vga std
  -device sb16             # Sound Blaster 16 emulation
  -device adlib            # OPL-II FM synth emulation
  -usb                     # Enable the USB driver stack
  -device usb-tablet       # present an absolute‐position USB tablet to DOS
  -net nic,model=ne2k_isa
  -net user
  -display gtk
  -full-screen
)

# Pin to CPU core 3 for stability
exec taskset -c 3 "${QEMU_CMD[@]}"
This script:
- Pins the VM to CPU 3 (
taskset) - Adds Sound Blaster and AdLib support for DOS audio
- Enables NE2000 networking so you can use FreeDOS NET tools
- Makes sure the mouse works without being laggy.
- Launches in a fullscreen GTK window
Dont forget to make the script executable:
chmod +x ~/start_freedos.sh
7. QEMU Key Shortcuts
- Ctrl + Alt + F : toggle fullscreen
- Ctrl + Alt + Q : quit QEMU
8. Adding Games or Extra Files
The simplest way is to build an ISO from your game folder and mount it as D:.
# Install ISO builder
sudo apt install -y genisoimage

# Create game.iso from a directory
genisoimage -o ~/game.iso -J -r ~/PremierManager2/
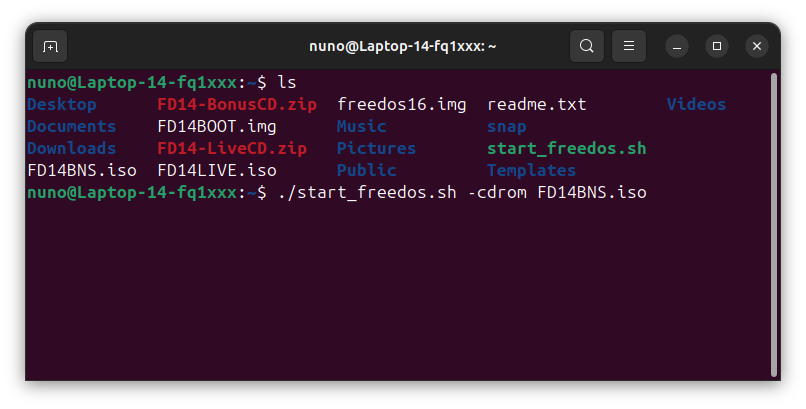
Then launch:
~/start_freedos.sh -cdrom ~/game.iso
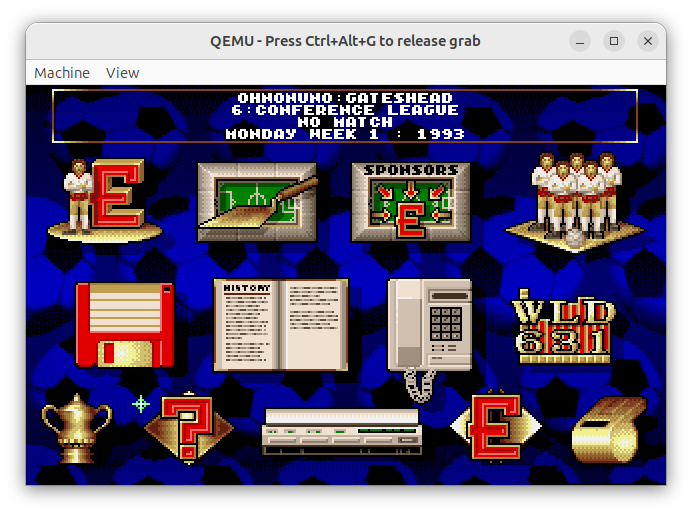
Here I am playing Premier Manager 2!
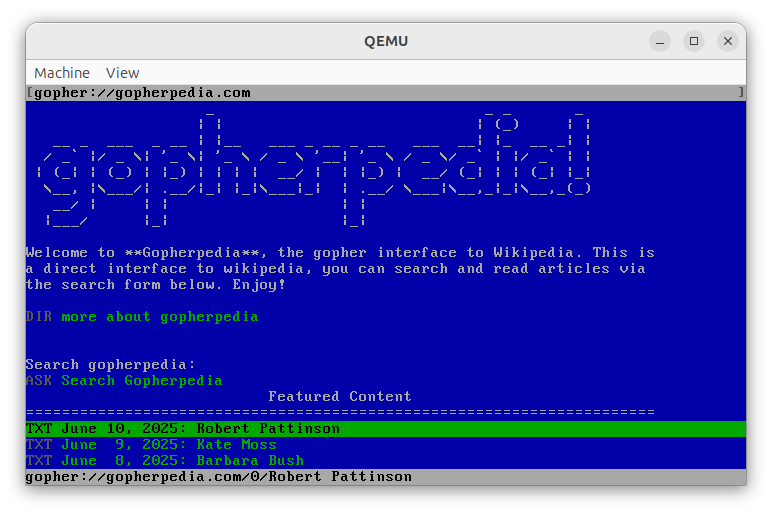
9. Using the Internet in FreeDOS
With NE2000 networking emulated, you can use the C:\NET tools. For example, there’s a Gopher client:
C:
CD \NET
GOPHERUS